Internal Request Submission
Internal Request Submission
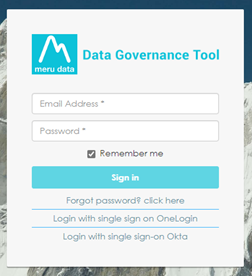
Log into the Data Governance tool.
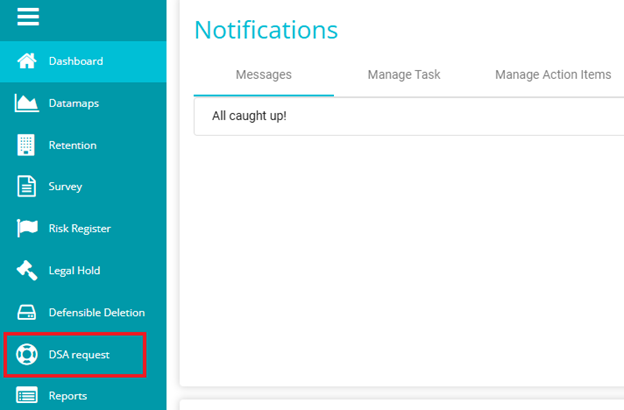
Click on the hamburger icon on the top left corner.
Click on 'DSA request' from the menu.
Note: The requests data and the filters visible to a user in the DSA Request Dashboard are based on the tenant, acts, and requestors mapped to them in the user permissions mapping section.
Click on the Active requests
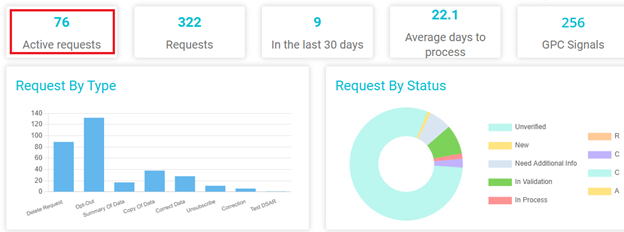
Clicking on it will redirect to the following screen.
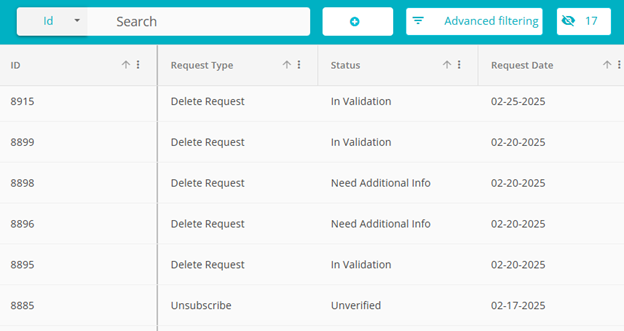
You can find all the active requests listed on the screen with their Titles, Request Types & Subtypes, Requestor's Names (first, middle, and last), Tenant Name, Domain Name, Region Name, Requestor Type & Subtype, Request Data, Status and more.
To create a new request, click on ' + '
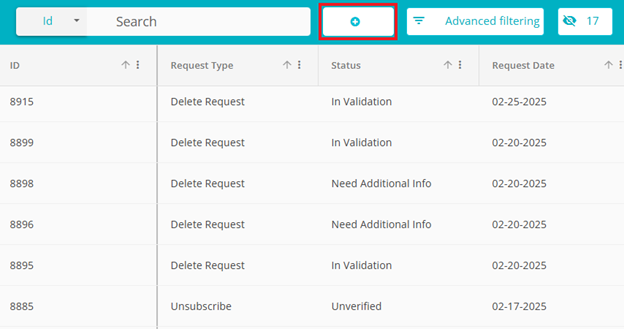
On clicking this, a Pop-up will appear to select the Domain, Act, request type and Requestor type. Users can select each of them from the respective drop downs.
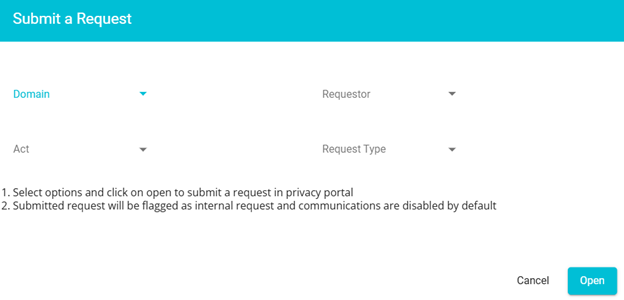
Once selected, click on the open button in the bottom right corner to be navigated to the request form:
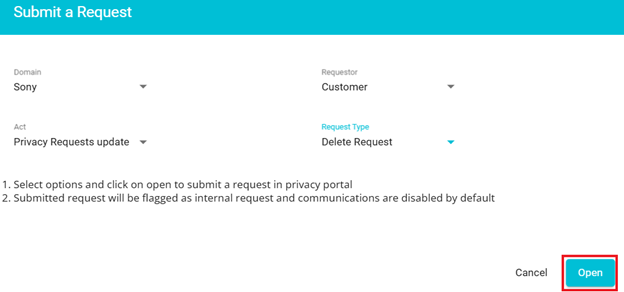
Request form:
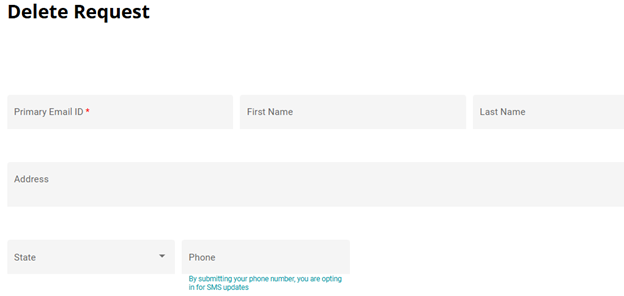
The request being created in this way will have jwt in the form link and is called an internal request.
Users can fill in the details and submit the form.
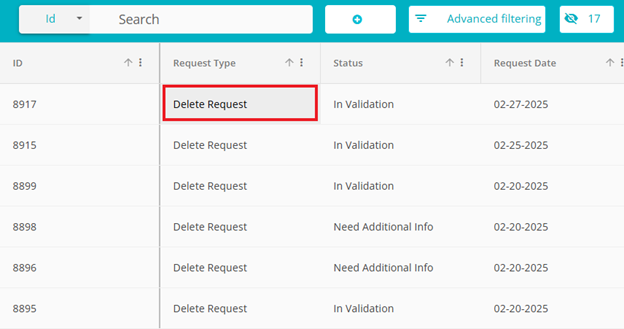
The submitted request will be visible in active requests dashboard:
Click on the Request type of the corresponding request to view the form:
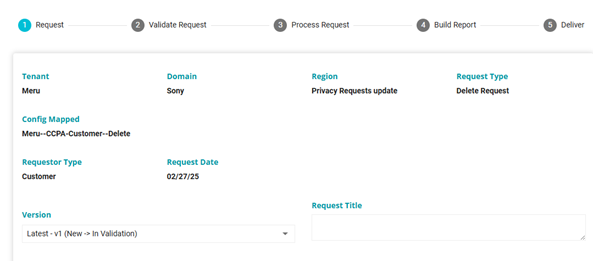
To know more about DSA Request form, refer to: DSAR - User Guide.docx
For internal requests, communications will be disabled by default however both validate and process action item emails will be sent.
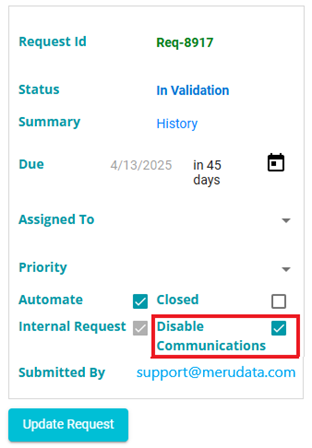
If user need to submit an acknowledgement, the checkbox corresponding to the disabled communications should be unticked and click on "Update Request".